Yi Peng lantern photography: how to actually capture it
Chiang Mai 2026 CAD Yi Peng Sky Lantern Festival (Official)
How do you photograph Yi Peng lanterns well?
Use a tripod or stable surface, switch to a slower shutter speed (roughly 1-4 seconds) or your phone's night mode, and shoot during the brief window right after mass release when the sky fills with rising lanterns rather than trying to catch a single lantern in isolation. Book an official ticketed event, since the large, dense releases seen in well-known photographs come from organized events near Mae Jo, not spontaneous activity in the city.
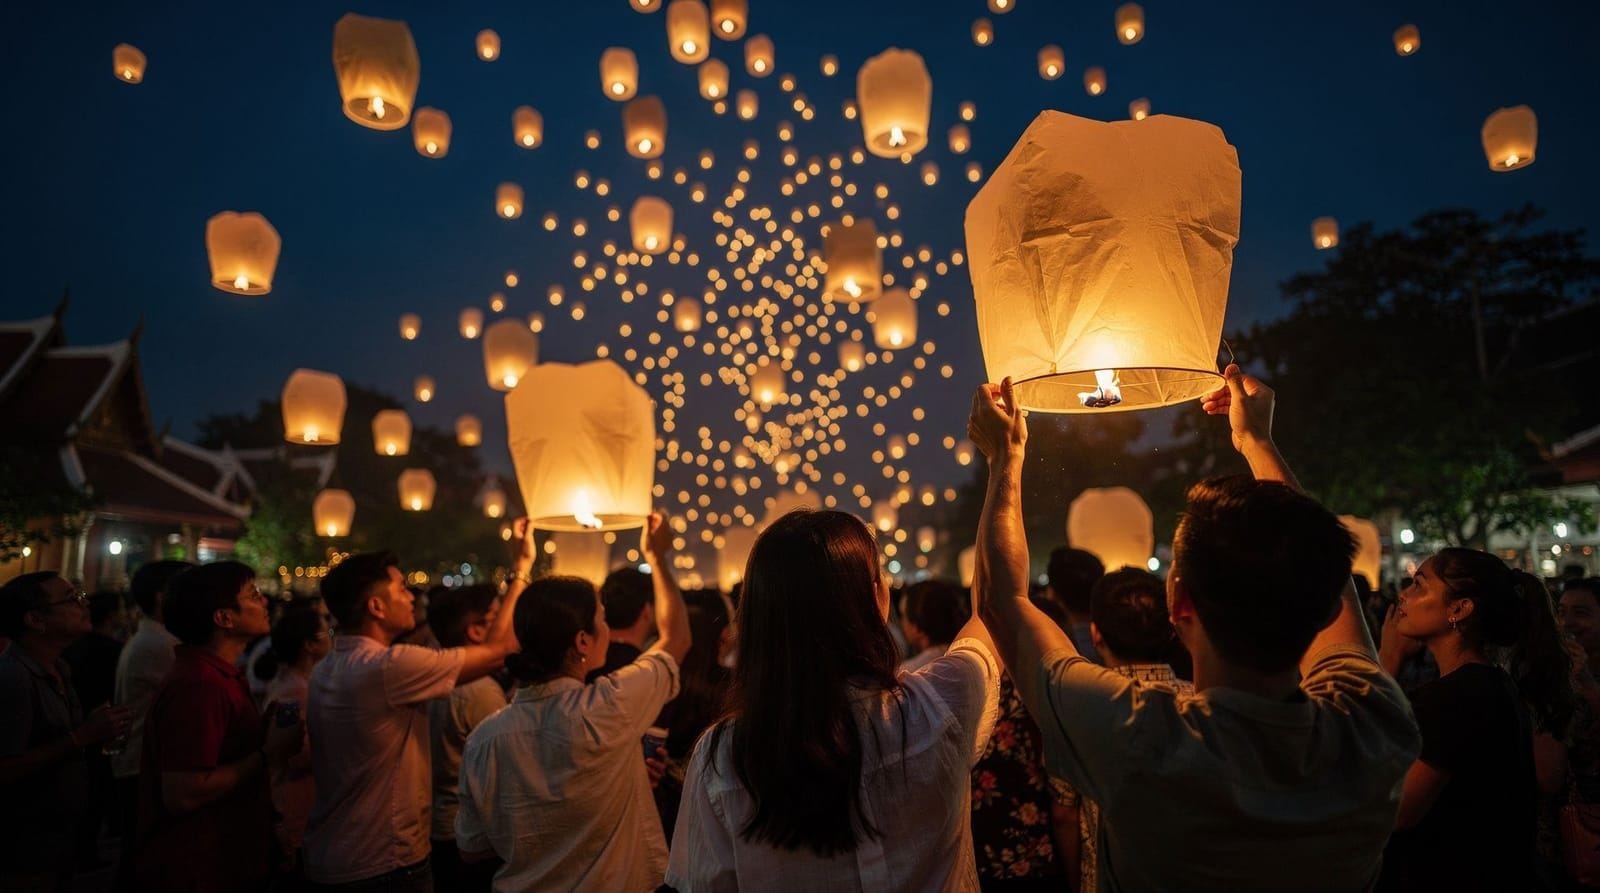
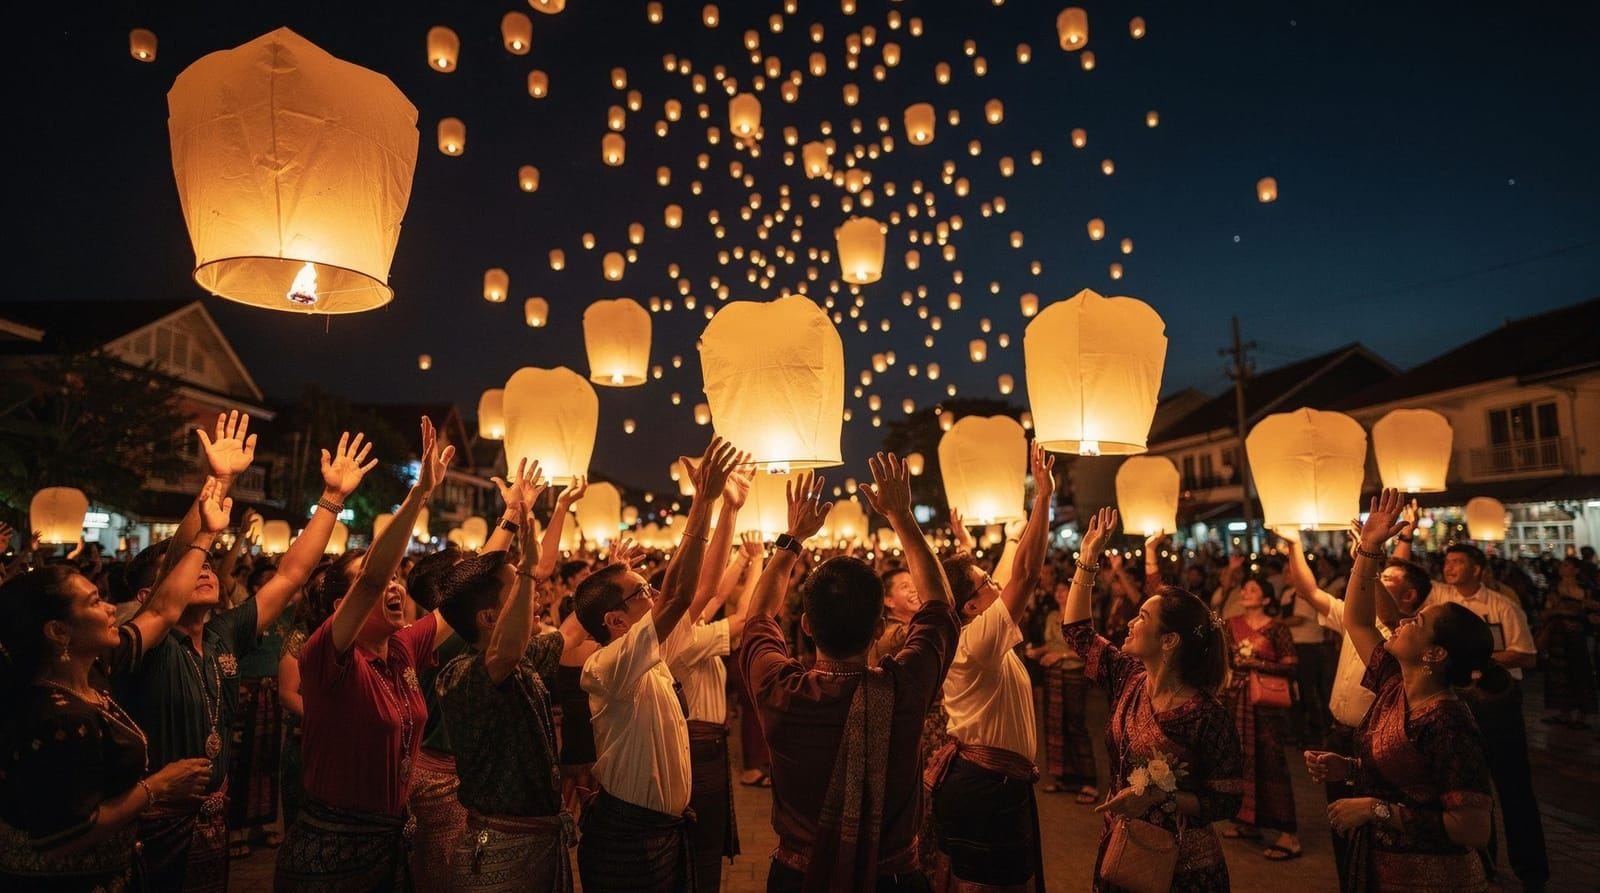
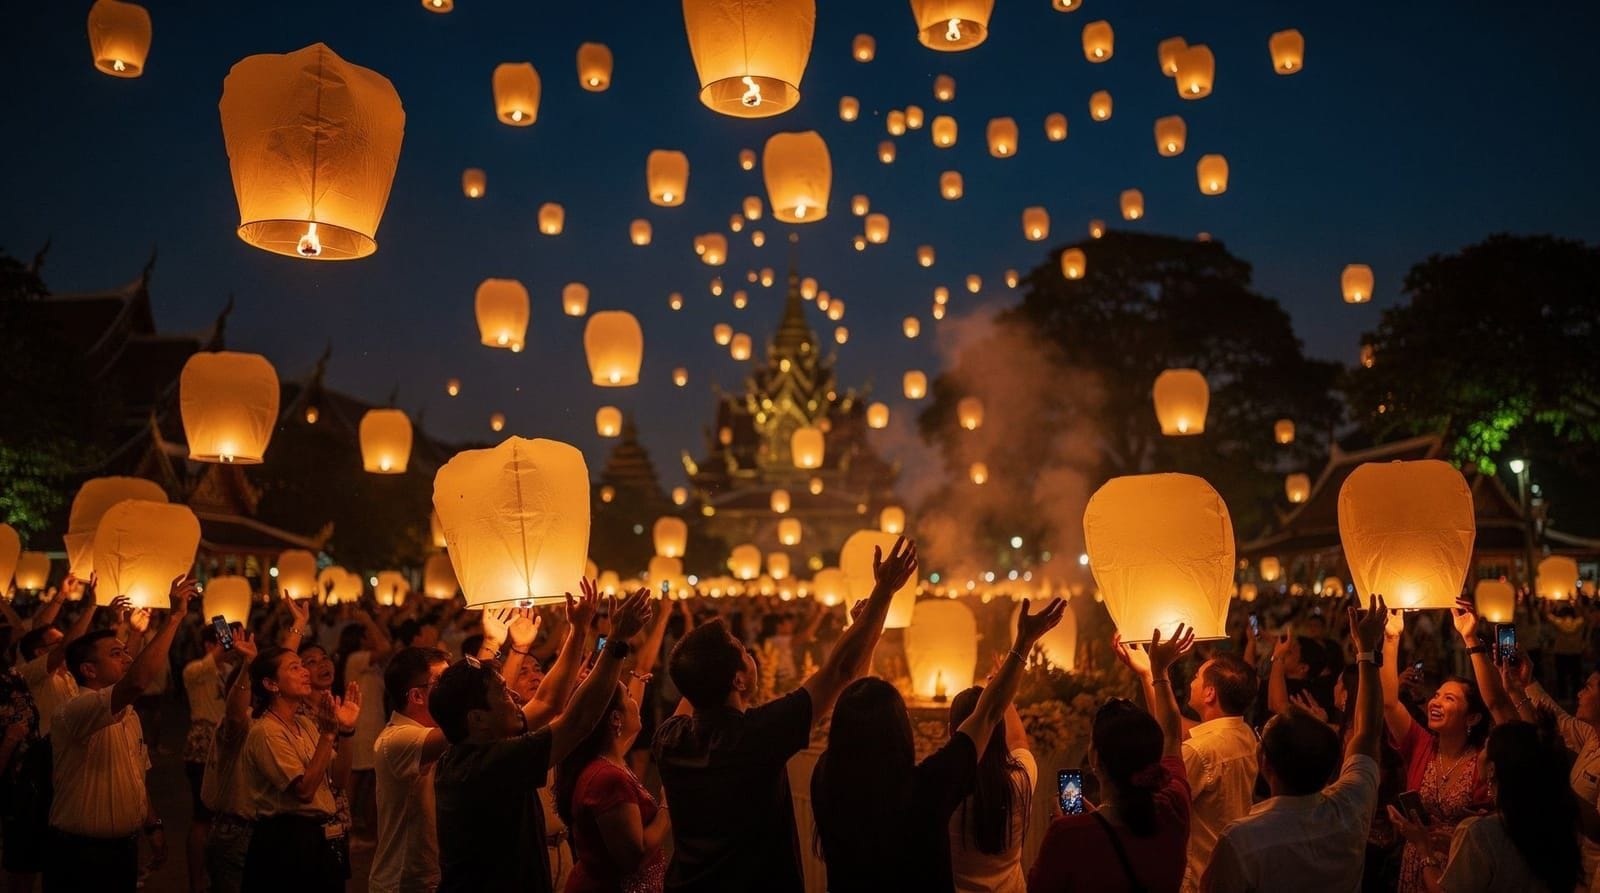
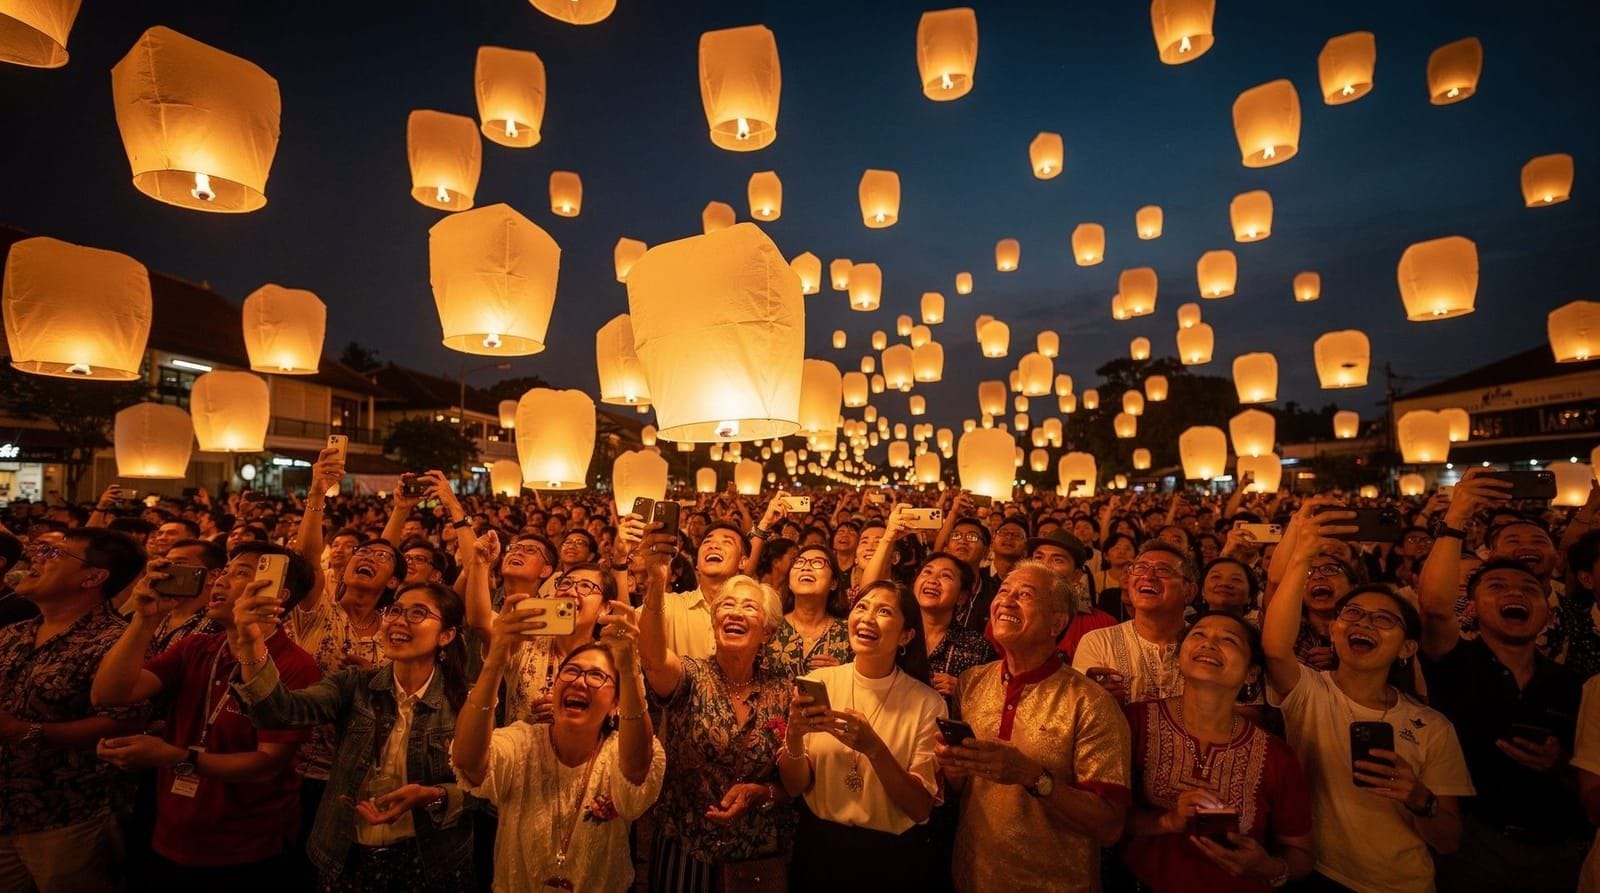
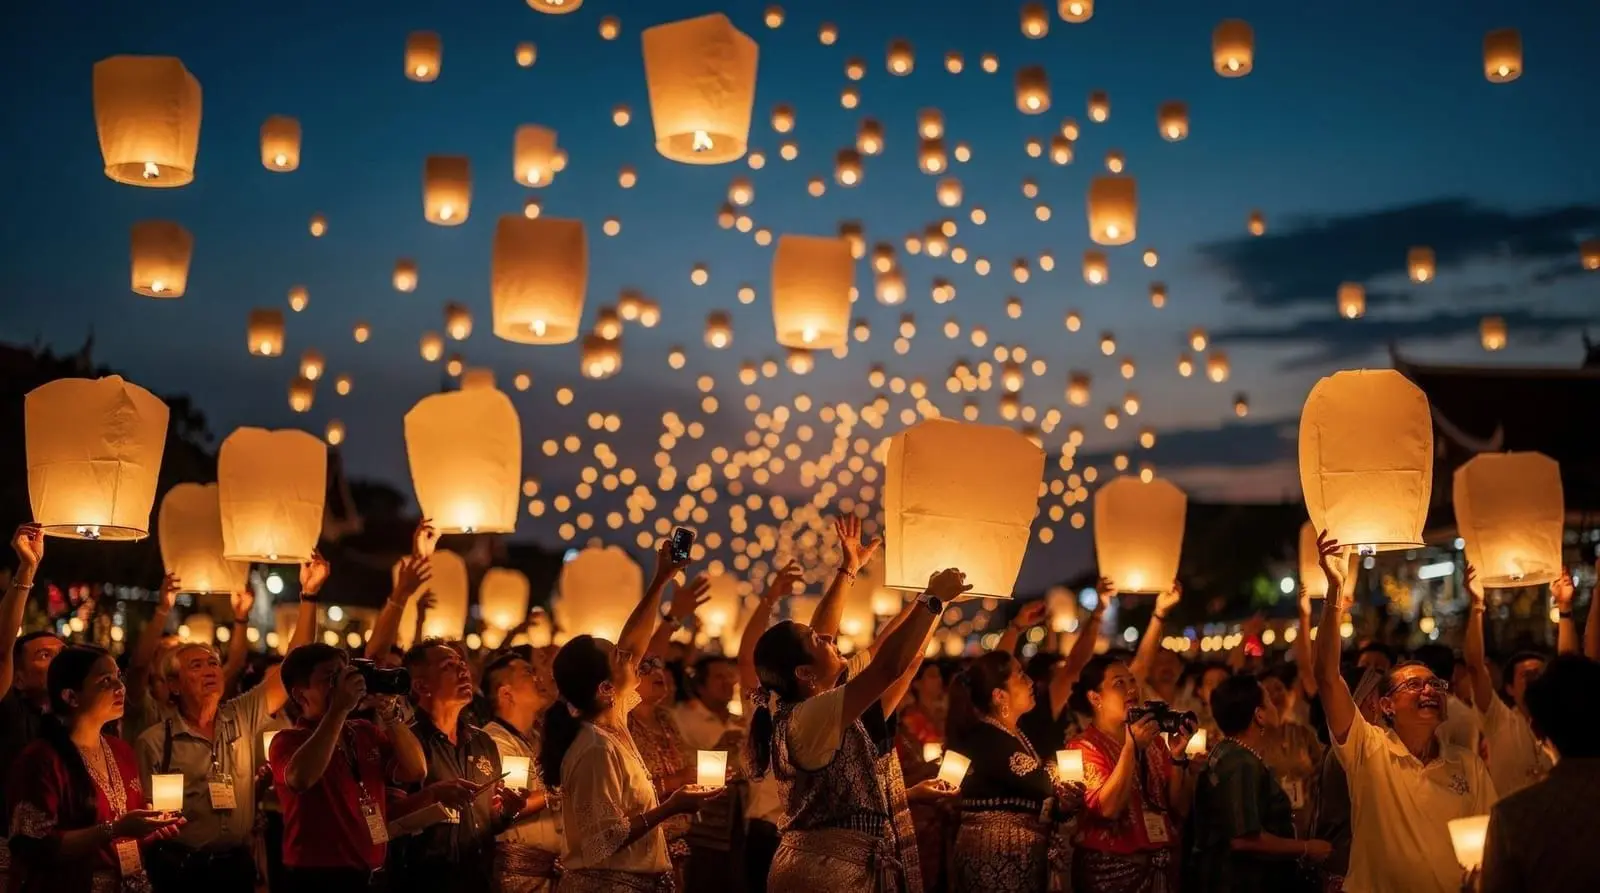
A well-shot Yi Peng photo — the sky filled with dozens of glowing paper lanterns drifting upward against a dark night — is one of the most-searched travel images associated with Chiang Mai, and also one of the most commonly mishandled by visitors who show up with only a phone on auto mode and no plan for the low light. The mechanics aren’t complicated, but a few specific choices around timing, gear, and event selection separate a genuinely striking result from a blurry, overexposed mess of light smears.
Quick answer: stabilize your camera (tripod, railing, or a braced phone), slow the shutter to roughly 1-4 seconds or switch on your phone’s night mode, and shoot during the concentrated window right after a mass release rather than trying to isolate a single rising lantern. Book an official ticketed event — the large, dense sky scenes come from organized releases, not casual lantern-lighting around the city.
Understanding what you’re actually photographing
Yi Peng lanterns (khom loi) are released as part of a broader Lanna Buddhist festival tradition, typically in November on a date tied to the lunar calendar — see our Yi Peng dates and tickets guide for the specific 2026 dates. The image most photographers chase — a dense, glowing field of lanterns rising together against a dark sky — comes from mass, coordinated releases where hundreds of attendees light and release their lanterns within a tight window, usually a few minutes, at an organized event. Individual or small-group lantern releases happen elsewhere too, including informally around the Old City and riverside, but they don’t produce anything close to the same visual density, so it’s worth being clear with yourself about which scene you’re actually trying to capture before choosing where to be.
It also helps to understand the sequence of a typical release rather than expecting a single instantaneous moment. Most organized events build toward the release gradually — a ceremonial program, a countdown, then waves of lanterns going up over several minutes rather than all at once — which means the “moment” you’re photographing is actually an extended window with a rising and falling rhythm of density. Recognizing this in advance means you don’t waste your best settings and positioning on the first few tentative lanterns while the real density is still to come a few minutes later.
Choosing the right event
Because the dense mass-release scene depends on scale, the event you attend matters more than almost any camera setting. Larger organized events, such as the official CAD Yi Peng Sky Lantern Festival or the Yi Peng Lantern Festival at Maejo University, gather large numbers of participants releasing lanterns in coordinated waves, which is what creates the visually dense sky. Smaller or more intimate events exist too and can suit visitors who prioritize atmosphere and personal participation over the biggest possible photo, but they won’t deliver the same volume of lanterns in frame. Deciding which matters more to you before booking avoids disappointment on the night itself.
Ticket tiers within the larger events also affect your photographic options. Seated sections closer to the release ground typically put you inside the density of the crowd, which suits a participatory, close-up experience but can crowd your foreground with other attendees’ arms and lanterns. Elevated or rear-tier seating, sometimes offered at a different price point, trades some of that immersive closeness for a cleaner sightline over the whole release field — genuinely worth the difference if photography, rather than participation, is your main priority for the evening.
Timing your position before the release
Arrive early — most organized events recommend arriving one to two hours before the actual release to account for registration, seating, and the ceremonial program that typically precedes the lantern-lighting itself. This isn’t dead time from a photography standpoint: it’s your window to scout a position with a clear, unobstructed view of open sky, ideally without stage lighting, string lights, or other attendees’ phone screens creating stray light sources in your frame. A slightly elevated seating tier or a spot toward the edge rather than the dense center of the crowd usually gives a cleaner composition once release begins.
Camera settings that actually matter
If you’re shooting with a camera capable of manual controls, three settings do most of the work: a wider aperture (low f-number, ideally f/2.8 or wider) to gather as much of the available light as possible, an ISO in the 400-1600 range as a starting point, adjusted up if the resulting images look too dark, and a shutter speed of roughly 1-4 seconds to let the rising lanterns register as a soft glow or gentle trail rather than a sharp, frozen point. Faster shutter speeds tend to produce a scene that looks flatter and less atmospheric than the same moment captured with a touch of intentional motion blur in the lanterns’ upward drift.
Focus is worth setting deliberately rather than trusting autofocus in low light, since many cameras and phones hunt for focus unsuccessfully against a mostly dark sky with scattered points of light. Switching to manual focus and pre-focusing on a lantern at roughly the distance you expect the bulk of the release to occur, or focusing on a fixed light source at a similar distance before the release begins, avoids the common problem of a camera locking focus on the wrong plane mid-shot. If your camera or phone offers focus peaking or a similar visual focus aid, it’s worth enabling for this specific scene.
Getting a similar result on a phone
Modern phone cameras handle this scene reasonably well through night mode or a dedicated long-exposure setting, both of which extend the phone’s effective shutter speed automatically. The single biggest improvement you can make on a phone is stability: night mode and long-exposure modes only work well when the phone stays completely still for the full exposure, so a small clamp-style tripod or bracing the phone firmly against a railing, seat back, or bag makes a bigger difference than any setting you can adjust in the camera app itself. Holding a phone freehand during a multi-second exposure almost always introduces visible blur across the whole frame, not just the lanterns.
Why a tripod (or equivalent) is close to essential
Because the entire technique here depends on a slower shutter speed than most casual phone photography ever uses, camera shake is the single most common reason lantern photos come out disappointing. A small travel tripod, a phone clamp attached to a railing or seat, or even a bag or jacket braced against a flat surface all solve the same problem: keeping the camera completely motionless for the one-to-four-second window the shot requires. Full-size camera tripods aren’t necessary for most attendees; something compact enough to carry in a day bag is sufficient.
Composing the wide shot versus the intimate shot
Two distinct compositions are worth planning for rather than shooting only one. A wide-angle frame captures the scale of a mass release — dozens or hundreds of lanterns filling much of the sky — and tends to be the more dramatic, more widely shared type of image. A tighter, longer-lens or zoomed-in frame isolates a smaller cluster or a single lantern against the dark sky, producing a quieter, more intimate result that reads very differently despite being the same event. Shooting the wide scene first, while the release is at its densest, and switching to a tighter composition as lanterns thin out and drift higher, uses the full arc of the event rather than only its opening seconds.
Including a human element — a person mid-release, hands cupped around a glowing lantern about to let go — often produces a more compelling image than the sky alone, since it grounds the scale of the event in a relatable, personal moment. If you’re at the event with travel companions, coordinating one release together while a second person photographs it, then swapping roles for a second lantern, is a simple way to get both a personal keepsake shot and a participatory experience without missing either.
Battery, storage, and backup planning
Long-exposure and night-mode shooting drains battery meaningfully faster than typical daytime phone or camera use, since the sensor stays active longer per frame and screen brightness tends to be turned up to review dim shots. A portable power bank in your bag, charged in advance, is worth carrying specifically for lantern night rather than assuming your device will comfortably last the whole evening on a single charge. On the storage side, night-mode and long-exposure files are often noticeably larger than standard photos, so clearing space on your phone or swapping to a fresh memory card before you leave the hotel avoids the frustrating experience of running out of storage mid-release.
Shooting video alongside stills
A short video clip of the release complements still photography well, since video captures the sense of movement and scale that a single frame can only imply. If you’re switching between photo and video modes, decide in advance roughly when you’ll make the switch — for example, stills during the buildup and first wave, video during the peak density — rather than fumbling between modes in the dark during the most visually dense minute of the whole event. Most phones handle low-light video reasonably well at the specific moment of a lantern release, since the lanterns themselves provide enough moving light sources for the camera’s stabilization and exposure systems to work with.
What to skip
Flash serves no purpose here and should stay off throughout — it lights only the nearby crowd and does nothing for the lanterns rising above, while also being a mild courtesy issue for everyone else trying to shoot the same scene in the dark. Zooming in aggressively on a phone, rather than physically moving closer or accepting a wider frame, also tends to degrade image quality noticeably in low light, since digital zoom amplifies noise along with the subject.
Weather and contingency planning
November sits at the tail end of the rainy season transitioning into the cool season, and while it’s generally a drier month than the peak monsoon, an unexpected shower or heavier cloud cover isn’t impossible on any given evening. Most large organized events proceed rain or shine, sometimes with the release delayed briefly rather than cancelled, since the ceremonial timing is tied to the lunar calendar and the event’s own program rather than weather forecasts made days ahead. Bringing a light rain layer and a way to shield your camera or phone briefly, without needing to abandon the shoot, is a reasonable precaution rather than a sign of bad planning.
Light cloud cover can actually work in your favor photographically, diffusing what little ambient light exists into a softer, more even background rather than a harsh clear-sky contrast. Heavy rain is the real problem, both for the event itself and for camera equipment, and in that scenario protecting your gear takes priority over getting the shot — a soaked phone or camera is a worse outcome than a missed frame.
Respecting the ceremony while shooting it
A Yi Peng release is a genuine religious and cultural observance for many attendees, not a staged photo opportunity, and it’s worth photographing accordingly: avoid blocking other attendees’ view or path to the release area for the sake of a shot, and be mindful that some attendees are there primarily for the ceremonial and spiritual dimension of the evening rather than to be background figures in someone else’s photo. Our Yi Peng festival guide covers the broader cultural context, and the honest-planner take on sky lantern safety and environmental impact is worth reading before you go, since it shapes how organized events now manage release sites and cleanup, including designated landing zones and post-event collection crews that reduce the environmental footprint of a mass release compared with unmanaged releases elsewhere.
Yi Peng versus Loy Krathong, photographically
Yi Peng and Loy Krathong overlap in timing but produce two different photographic subjects — sky lanterns rising versus floating krathong (small floral rafts with candles) released onto rivers and canals. Our Loy Krathong versus Yi Peng guide explains the distinction in full, but for photography specifically, a krathong-focused evening calls for a lower vantage point near water, often along the Old City moat or the Ping River, and benefits from the same slow-shutter approach for capturing candlelight reflections, rather than the upward-facing wide shots that suit lantern releases. A Moonlight Sky Lantern Loy Krathong festival event often combines both traditions in one evening, giving you both subjects without needing to plan two separate outings.
After the event: managing your shots
Because slow-shutter shots vary more in exposure and sharpness than typical daylight photography, it’s worth reviewing images on the back of your camera or phone screen periodically during the event rather than waiting until afterward, adjusting ISO or shutter speed if early frames look too dark, too bright, or excessively blurred. A quick brightness and contrast pass in basic editing afterward tends to bring out the lantern glow more than the raw file initially shows, since phone night-mode processing can sometimes flatten contrast in pursuit of an evenly lit frame.
If your camera shoots in RAW format, it’s worth using for this specific event even if you don’t normally bother, since RAW files retain far more recoverable detail in the darkest parts of the frame than a compressed JPEG, and a lantern-night shot frequently needs some shadow recovery or white balance correction after the fact. A slightly warm white balance setting, rather than an automatic or cool setting, also tends to suit the scene better, since it complements the orange-gold glow of the lanterns rather than fighting against it.
Bringing it together for the night itself
A realistic plan for the evening looks like this: arrive one to two hours early to scout position and settle gear, use the ceremonial buildup to test your settings on any early test lanterns or ambient lighting, shift into your primary wide shot as the mass release peaks, then move to tighter, more personal compositions as the crowd thins and lanterns rise higher and further apart. None of this requires expensive equipment — a stable surface and a slower shutter speed do the bulk of the work — but going in with this rough sequence in mind is what separates a handful of strong, deliberate frames from a memory card full of similar, slightly blurred attempts at the same shot. For more spot-specific ideas beyond lantern night itself, see our full best photo spots in Chiang Mai ranking and the golden-hour temple photography guide for daytime timing around the same trip.
Frequently asked questions about Yi Peng lantern photography: how to actually capture it
What camera settings work best for lantern photos?
Do I need a tripod?
Can I photograph the lantern release from the city without a ticket?
What's the best position within an event to shoot from?
Should I use a wide-angle or telephoto approach?
Is flash useful at any point?
Top experiences
Bookable activities with verified prices and instant confirmation on GetYourGuide.